Descending Fast and Safely: The Bike Handling Skills Nobody Teaches
Body position, braking, lines and vision: the basics of descending to stop being scared and start having fun.
In 1 minute: save routes, download the GPX and join group rides.
Sign upWritten by the editorial team at Velunite
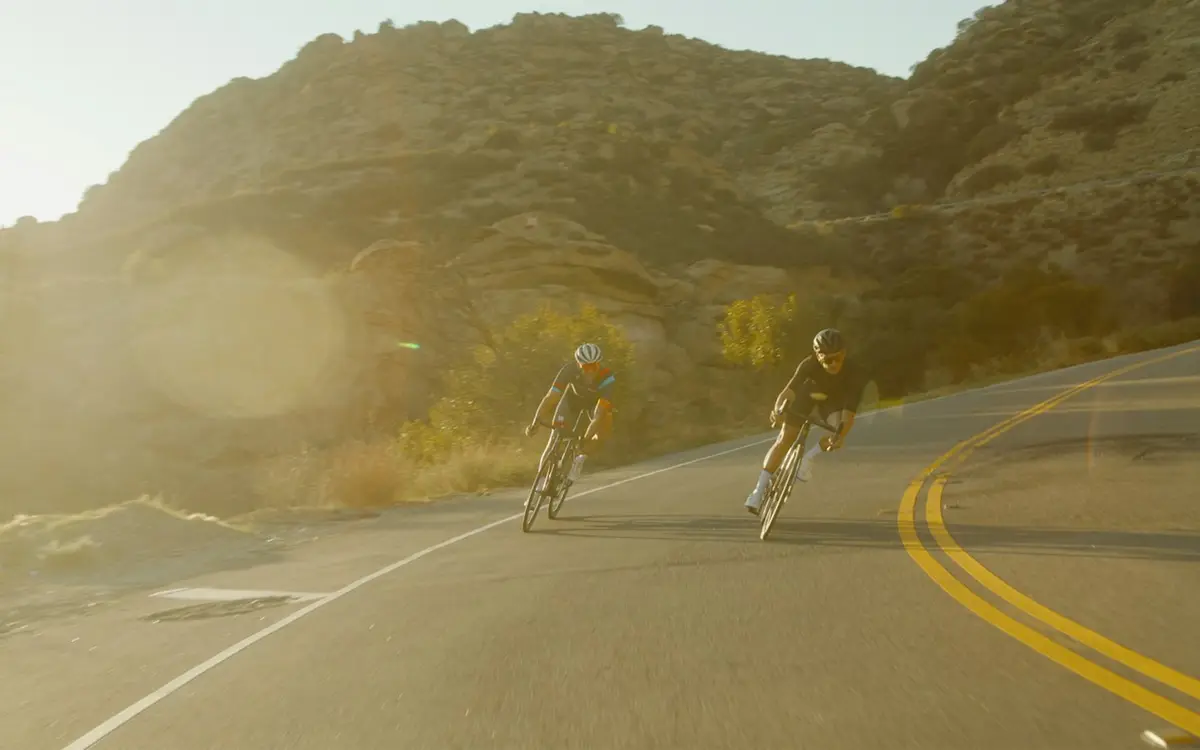
On climbs we all suffer more or less the same, but on descents the differences explode: some riders gain minutes, others lose them, some enjoy it and some grip the brakes the whole way. The good news is that descending well isn't courage, it is technique, and technique can be learned even as an adult starting from zero. In this guide you will find the rules that really matter: where to look, how to brake, how to position your body, how to behave on wet roads and in a group.
Your eyes decide everything
The number one mistake on descents is looking at the front wheel or the tarmac two metres ahead. At 50 km/h two metres is a little over a tenth of a second: impossible to react. Your eyes should be where you will be in three to four seconds, that is the exit of the bend, not the entry. The body follows the eyes almost automatically: look at the exit and the bike goes there; stare at an obstacle and you are more likely to hit it. Practise on a descent you know well: at first slow down and concentrate only on lifting your eyes.
Brake less, brake earlier
The second mistake is braking in the middle of the bend, when the bike is leaned over and grip is already busy keeping you on line. The rule is to do all your braking before the bend, in a straight line with the bike upright, then release the brakes and enter at the right speed. Keep two fingers on the levers and the rest of your hand firmly on the bars. The front brake does most of the work, but apply it progressively, never suddenly; the rear stabilises. Long continuous braking on long descents heats rims and pads: alternate braking and release to avoid fade, and keep an eye on rim temperature.
The position that lowers your centre of gravity
Hands on the drops when the descent is steep, soft elbows, hips slightly back and the outside pedal down in the bend with weight on it. It sounds like a long list but it is a single position to practise on an easy descent until it becomes natural. A low, relaxed torso lowers the centre of gravity and makes the bike stable; stiff arms and raised shoulders do the opposite, passing every bump straight to your head. In the bend the inside knee can open slightly: it helps balance without unsettling the bike.
Simple lines for wide bends
Enter wide, cut towards the inside shortly before the apex and exit wide. In practice the safest line opens the bend and gives you visibility. Never cut across the centre line: on roads open to traffic, a bend can reveal a car coming in the other lane. Always stay in your own lane, even if visibility seems excellent.
Wet roads, gravel and leaves
In rain braking distances grow: start from a lower speed and brake earlier, especially with carbon rims, whose response is less immediate. Avoid white road markings, manhole covers and painted lines, which become slippery; reduce pressure slightly if you ride wide tyres with inner tubes, but don't overdo it. On gravel and leaves don't brake in the bend and keep the bike as upright as possible. For riding in wet conditions read riding in the rain.
Descending in a group
On descents the group stretches out: keep a safe gap to the wheel in front, at least two or three bike lengths at 40 km/h, and don't try to follow wheels faster than you. Call out potholes and obstacles, avoid sudden braking and don't overtake in bends. A good group agrees in advance how to behave on descents, especially if less experienced riders are present. The unwritten rules are in our guide to group ride etiquette.
Training descents safely
Pick a descent you know, with little traffic and good tarmac. Repeat the same bend three or four times, raising speed slightly only when you feel in control of the line. Always check brakes and tyres before you set off: worn pads or wrong pressure are technical errors, not lack of courage. Helmet always fastened; to choose the right model see the helmet guide.
Frequently asked questions
I get scared in bends: how do I get past it? Reduce speed, look at the exit, practise on wide bends and work at modest speeds: confidence is built through repetition, not by forcing yourself.
Is it better to brake with two fingers or the whole hand? Two fingers on the levers leave the other fingers firmly around the bars and reduce arm tension, provided the levers are set close to the bars.
Can I descend standing on the pedals? Yes, on rough sections or to lower your centre of gravity, keeping knees soft and weight on the pedals.
In short
Safe descending means eyes far ahead, braking finished before the bend, a low and relaxed body. Try it on a descent you know by heart at moderate speeds and you will see your margin grow ride after ride. Speed is a consequence of technique, never the other way round.
Recommended products
On descents your head comes first: a light ventilated road bike helmet in the right size protects without weighing on your neck.
Wind, insects and low sun are handled with cycling glasses with interchangeable lenses, matched to the light of the day.
Secure grip on the levers comes from reinforced-palm cycling gloves, essential when hands sweat.
Braking less but better needs brakes in shape: compatible replacement brake pads cost little and transform braking.
As an Amazon Associate, Velunite earns from qualifying purchases. Some links in this article are affiliate links: if you buy through them Velunite may earn a small commission at no extra cost to you.
More articles
Latest from the Journal
- MTB races are closing: Sirente gone, Dolomiti on the edgeNovember 20, 2026
- Bologna 2027: the marathon costs 10 euros more at each price tierNovember 20, 2026
- WorldTour 2027 calendar: Worlds in August, Vuelta in SeptemberNovember 19, 2026
- Valencia, 6 December: Kejelcha returns to the marathon after sub-2November 19, 2026