DIY Bike Fit: How to Adjust Your Saddle and Handlebars Without a Biomechanics Lab
A practical guide to setting up your own bike fit: saddle height, saddle setback, handlebar reach, and the body signals that tell you something's off.
Written by the editorial team at Velunite
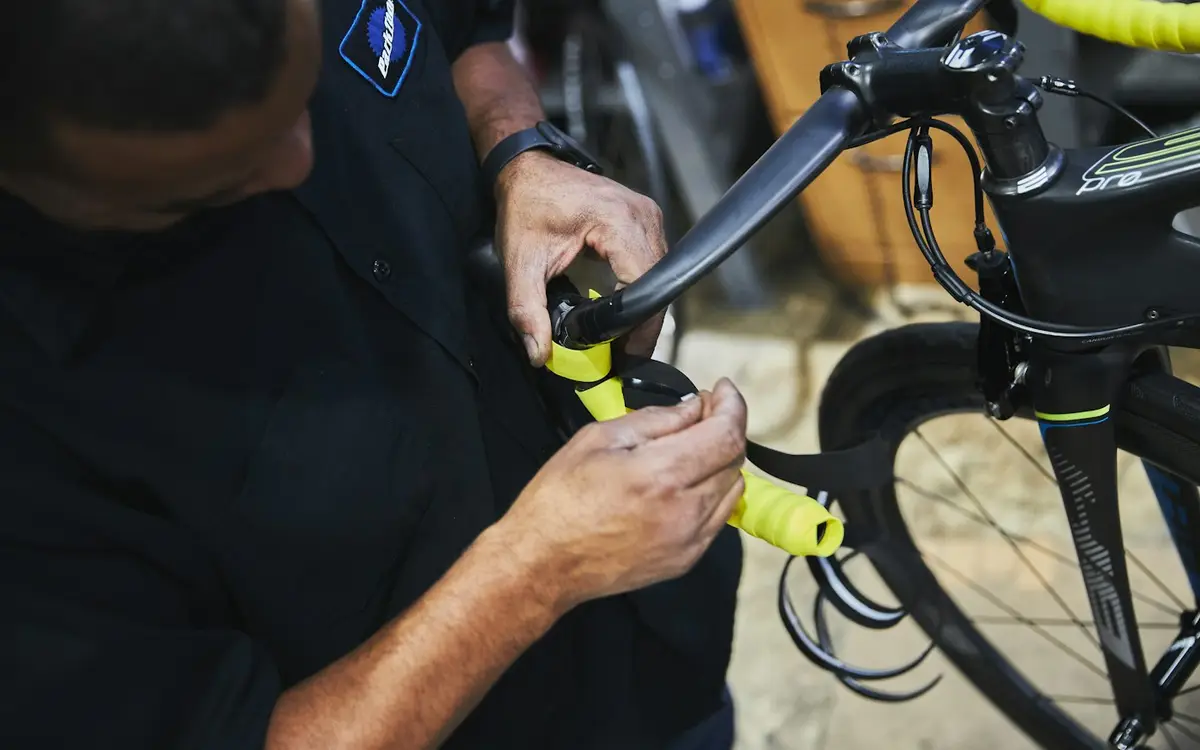
You don't need a biomechanics lab to ride in a decent position. A tape measure, a wall, and a bit of patience are enough to fix around 80 percent of the most common comfort problems. Your body handles the rest, usually sending clear signals when something's wrong: sore knees, tingling hands, lower back pain after an hour in the saddle.
Saddle height, the place to always start
This is the adjustment with the biggest impact on comfort and power, yet it's the one most riders get wrong in one direction or the other. A simple method: sit on the saddle with your heel on the pedal at the bottom of the stroke, leg straight but not locked out. Once you move your foot into a normal pedaling position, your knee will have the right amount of bend, usually between 25 and 35 degrees. A saddle that's too high means your hips rock with every stroke and discomfort behind the knee; too low means pain in front of the knee and lost power.
Saddle setback, the adjustment everyone forgets
Beyond height, how far forward or back the saddle sits relative to the bottom bracket matters too. A quick check: standing still, with the crank arm horizontal and pointing forward, a plumb line dropped from the center of your kneecap should land roughly over the pedal axle. If it lands well forward or behind that, you're probably overloading your knees or lower back without realizing it, sometimes only noticeable after three hours in the saddle.
Reach and handlebar height: comfort for your back and hands
If your hands go numb after every ride or your lower back tightens up, the culprit is often reach, not saddle height. A starting rule: looking down at the front wheel, the handlebar should slightly hide the front hub. Too stretched out and you lose control while overloading your back; too cramped and you add strain to your neck while losing aerodynamic efficiency. Small stem changes, even a single centimeter, make a bigger difference than they seem to.
Listen to your body, not just the tape measure
No measurement replaces what you actually feel after 60 to 90 minutes in the saddle, when a static position meets real fatigue. Keep a mental log: where it hurts, after how many kilometers, at what intensity. If the pain always shows up in the same spot and gets worse with distance, it's almost certainly a fit issue, not a fitness one.
When it's worth seeing a professional
DIY fitting covers the easy cases well, but if you have postural asymmetries, an old injury, or you're still uncomfortable despite adjustments, a professional bike fit with motion analysis is worth the money. It's cheaper than months of uncomfortable rides or a joint issue that becomes chronic.
The takeaway
Saddle height, setback, and handlebar reach are the three adjustments that solve most bike comfort issues. Start there, change one thing at a time, and give your body a couple of rides to adapt before you tweak anything again.
Recommended products
If the stock saddle never felt right, an anatomical comfort bike saddle with a center cutout fixes most pressure pain.
Numb hands often come down to grip: good cushioned handlebar tape improves comfort and control without changing the bars.
For long-distance comfort, quality-chamois cycling shorts matter as much as the saddle itself.
Tingling hands ease off with gel-padded cycling gloves, which soak up road buzz.
As an Amazon Associate, Velunite earns from qualifying purchases. Some links in this article are affiliate links: if you buy through them Velunite may earn a small commission at no extra cost to you.